Kerberos authentication can be established by applying Kerberos ticket cache or keytab file. Kerberos ticket cache method has a disadvantage, ticket cache should be renewed on regular basis. If it is not automatic process, it will request our attention. Another option is to use Kerberos keytab file. First of all, it has to be regenerated only in case of changing password for kerberized account. It's beneficial when a service account is involved. In that scenario, an administrator might maintain keytab file and distribute it to users. Also, keytab file be created by users.
1. Create Kerberos keytab File
Keytab file can be created following Create keytab File for Kerberos Authentication in Windows article.
2. Create JAAS Configuration File
JAAS file stores Kerberos setup used by Microsoft JDBC Driver for SQL Server driver. Krb5LoginModule module authenticates users using Kerberos protocols.
SQLJDBCDriver {
com.sun.security.auth.module.Krb5LoginModule required
doNotPrompt=true
useKeyTab=true
keyTab="keytabname.keytab"
useTicketCache=false
renewTGT=false
principal="windowsserviceaccount@SAMPLE.COM";
};
Make your changes in the sample:
Replace
keyTab="keytabname.keytab"setting with your keytab file name. Keytab file name without path means that the file is stored in root folder of your DBeaver installation, for example, C:\dbeaver-ce-7.0.0-win32.win32.x86_64. Make sure that you use double back slash (\) or forward slash (/) in file path, for example, C:\\kerberos\\keytabname.keytab or C:/kerberos/keytabname.keytabReplace
principal="windowsserviceaccount@SAMPLE.COM"setting with your service account name which kerberized in keytab file and your default realm.
3. DBeaver Kerberos Setup
Add JAAS file name and location to dbeaver.ini DBeaver configuration file
-Djava.security.auth.login.config=jaas.conf
The file name is jaas.conf and the location is a root folder of DBeaver installation, for example, C:\dbeaver-ce-7.0.0-win32.win32.x86_64.
Optionally, it can be added a command to relax the usual restriction of requiring a GSS mechanism. Your network security configuration might make it as mandatory.
-Djavax.security.auth.useSubjectCredsOnly=false
-Djava.security.auth.login.config=jaas.conf
Optionally, krb5.ini Kerberos configuration file can be added. The file can be obtained from your administrator.
-Djavax.security.auth.useSubjectCredsOnly=false
-Djava.security.krb5.conf=krb5.ini
-Djava.security.auth.login.config=jaas.conf
The file location is a root folder of DBeaver installation, for example, C:\dbeaver-ce-7.0.0-win32.win32.x86_64.
This is a sample of the final dbeaver.ini file for DBeaver Community edition version 7.0.0.
-startup
plugins/org.eclipse.equinox.launcher_1.5.600.v20191014-2022.jar
--launcher.library
plugins/org.eclipse.equinox.launcher.win32.win32.x86_64_1.1.1100.v20190907-0426
-vmargs
-XX:+IgnoreUnrecognizedVMOptions
--add-modules=ALL-SYSTEM
-Xms64m
-Xmx1024m
-Djavax.security.auth.useSubjectCredsOnly=false
-Djava.security.krb5.conf=krb5.ini
-Djava.security.auth.login.config=jaas.conf
4. Add New MS SQL Connection
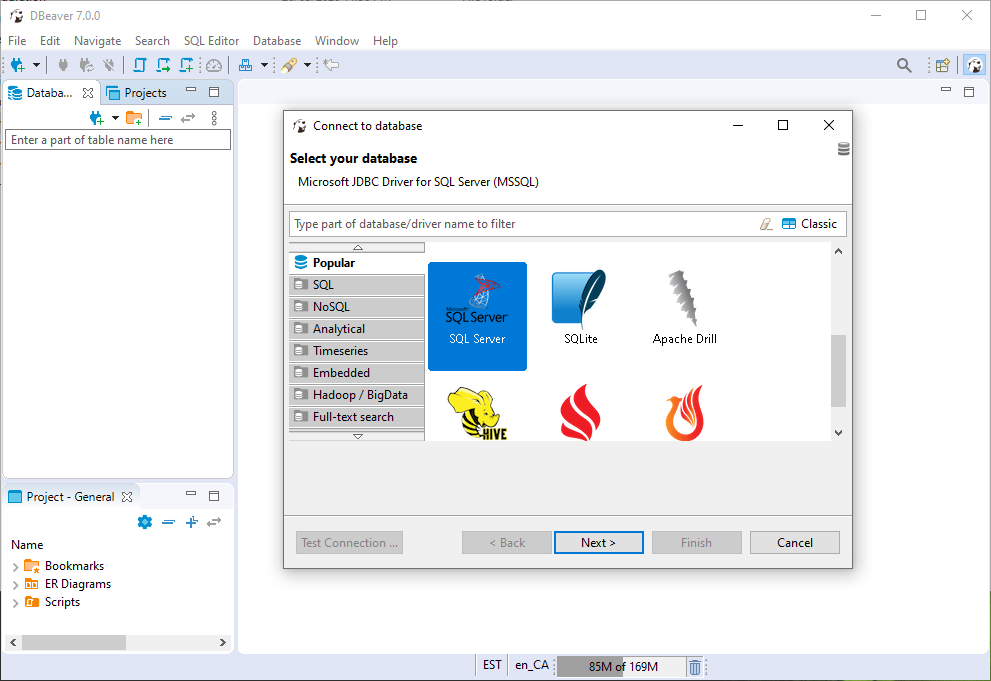
Open New Database Connection wizard from Database menu and select MS SQL Server driver.
On the next step, replace Host with your server name and choose Kerberos from Authentication list.
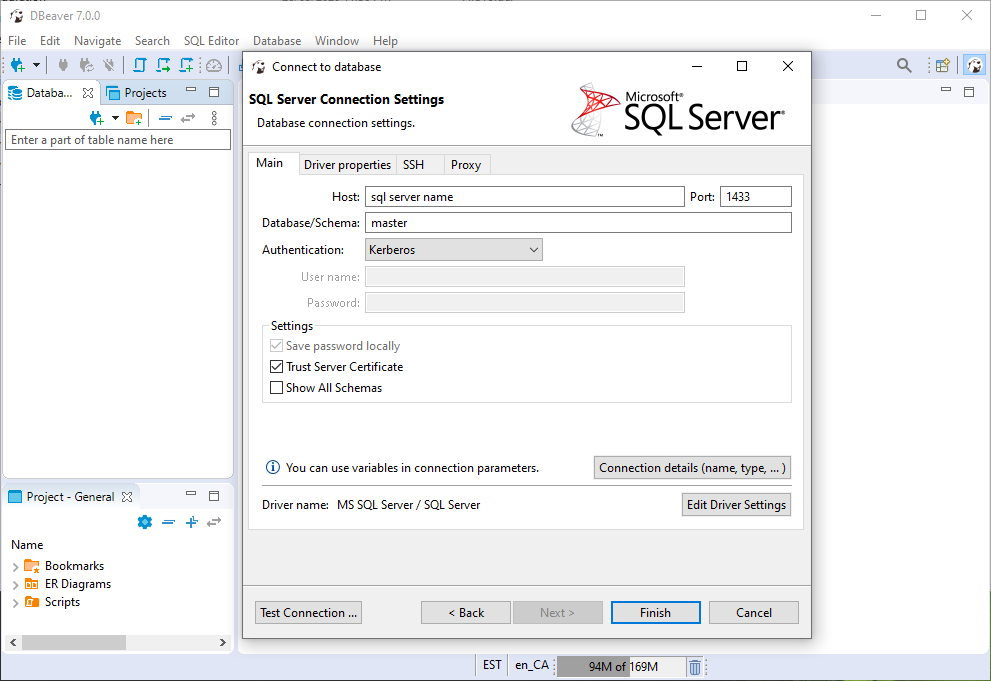
Click Finish button to complete wizard.
Next screen will request to download drivers. Just click Download button.
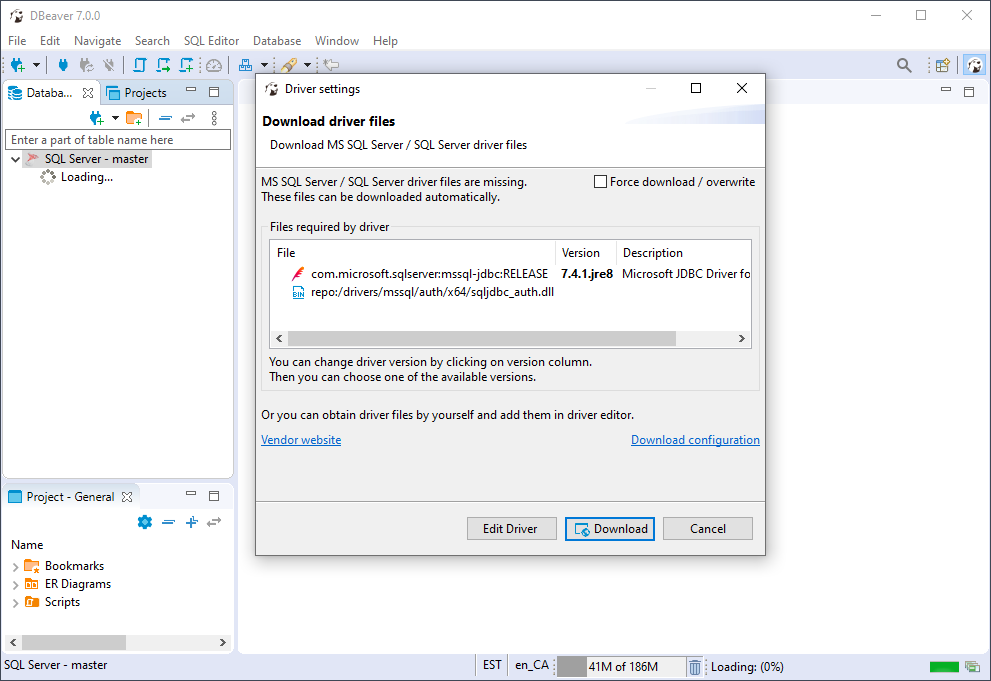
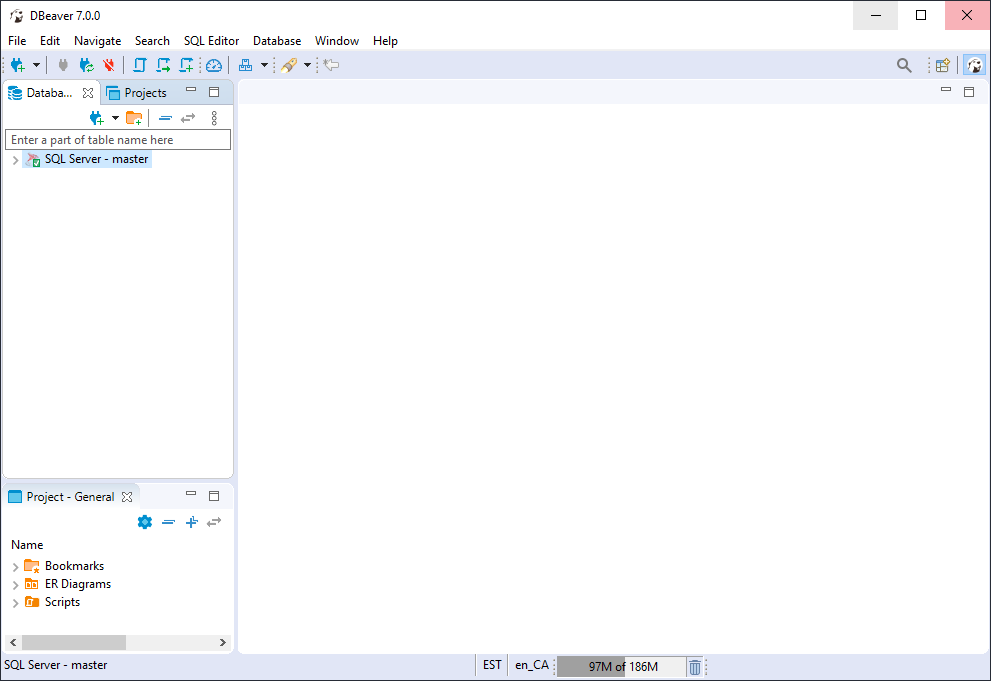
Be patient, it takes time to retrieve SQL server meta data.
5. Upgrade MS SQL Drivers
It's an optional step if you are able to connect to MS SQL Server.
Download Microsoft JDBC Driver for SQL Server
Unzip driver and store in C:\Users\windowsuser\AppData\Roaming\DBeaverData\drivers DBeaver settings folder, for example, C:\Users\windowsuser\AppData\Roaming\DBeaverData\drivers\sqljdbc_8.2
Edit created connection
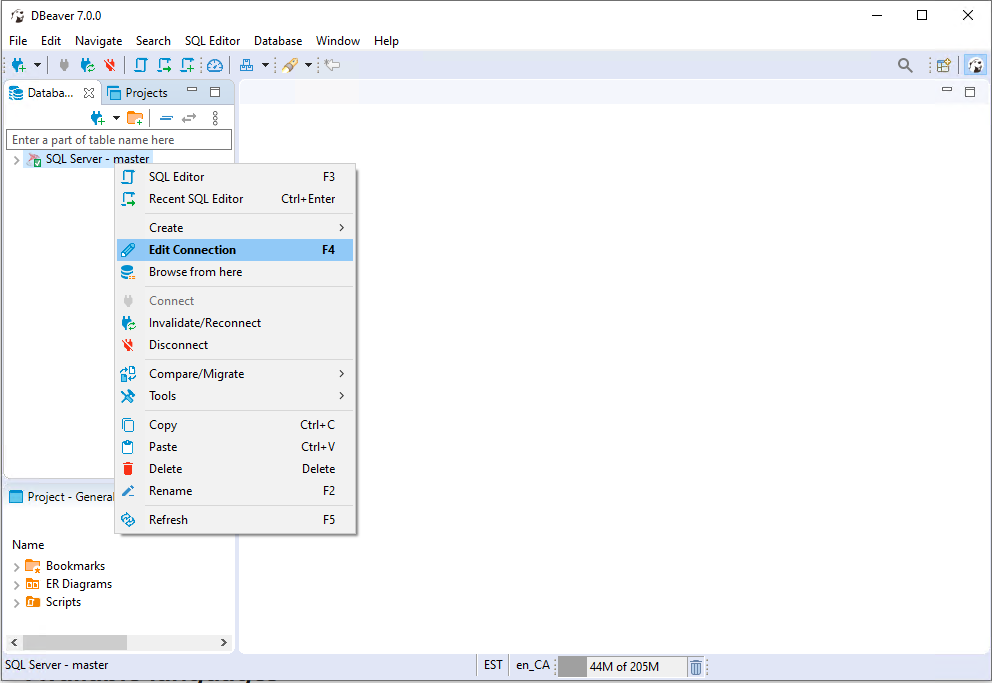
Click Edit Driver Settings button
Delete all files in Libraries tab
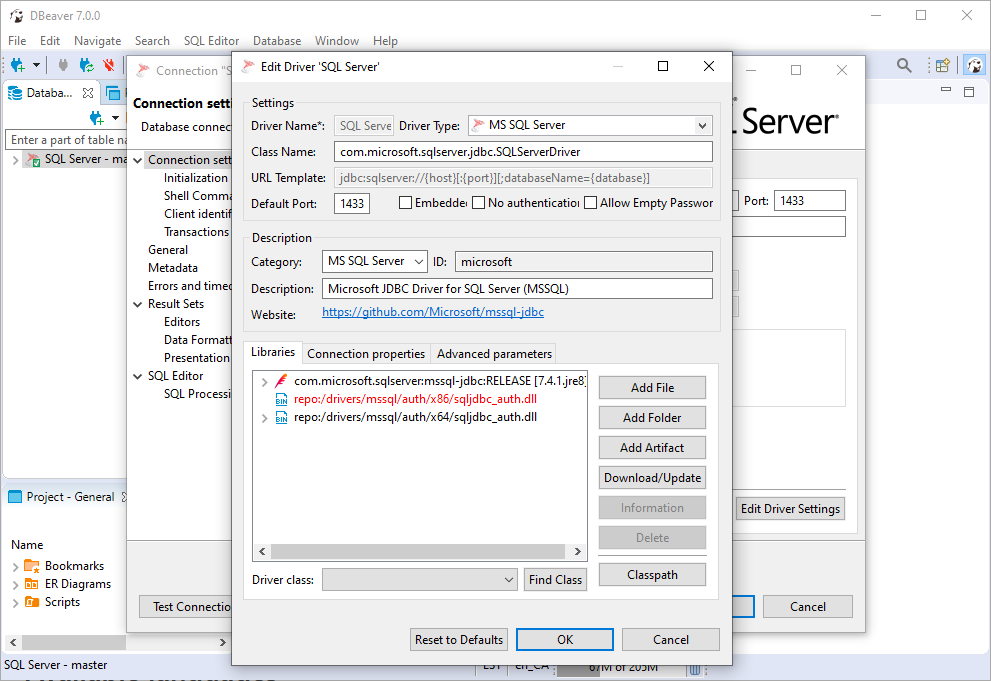
Click Add File button and select downloaded files
a) JDBC driver corresponding your java version, for example, java 1.8 - mssql-jdbc-8.2.2.jre8.jar.
b) Authentication library. It should be 64 bit - mssql-jdbc_auth-8.2.2.x64.dll.
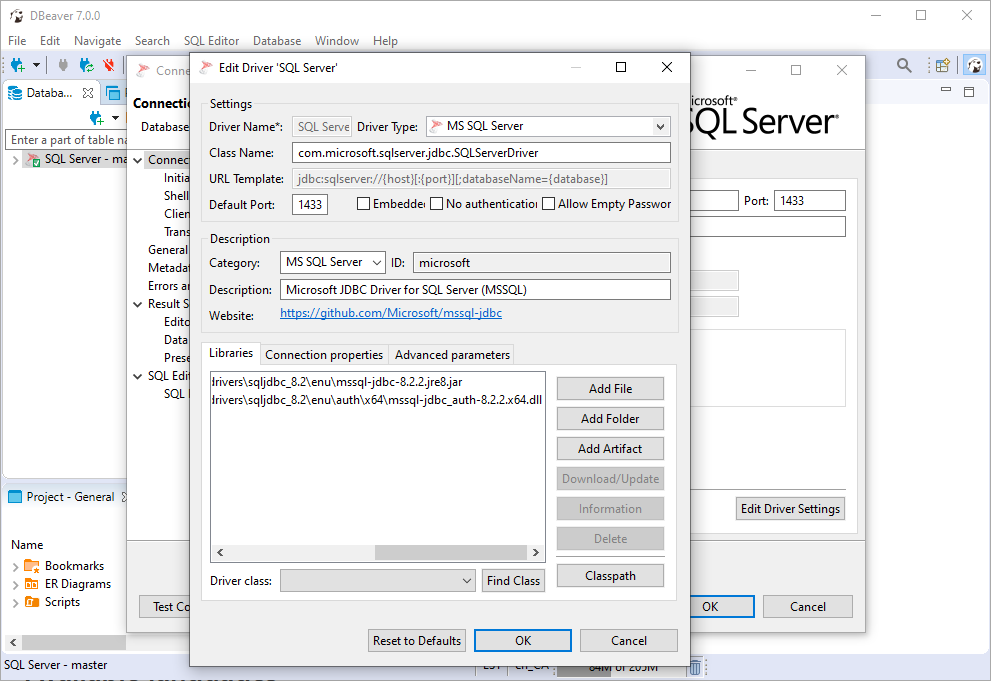
Click OK button twice to complete setup.
Restart DBeaver to apply new drivers.
Comments
comments powered by Disqus