Synology DiskStation Manager (DSM) doesn't include GUI based functionality to set up a redirect HTTP web traffic to secured HTTPS version of your web site. The default web server in DSM 6 is Nginx and the configuration of the web server should be adjusted. It can be accomplished making manual changes to the Nginx web server moustache template.
Prerequisites
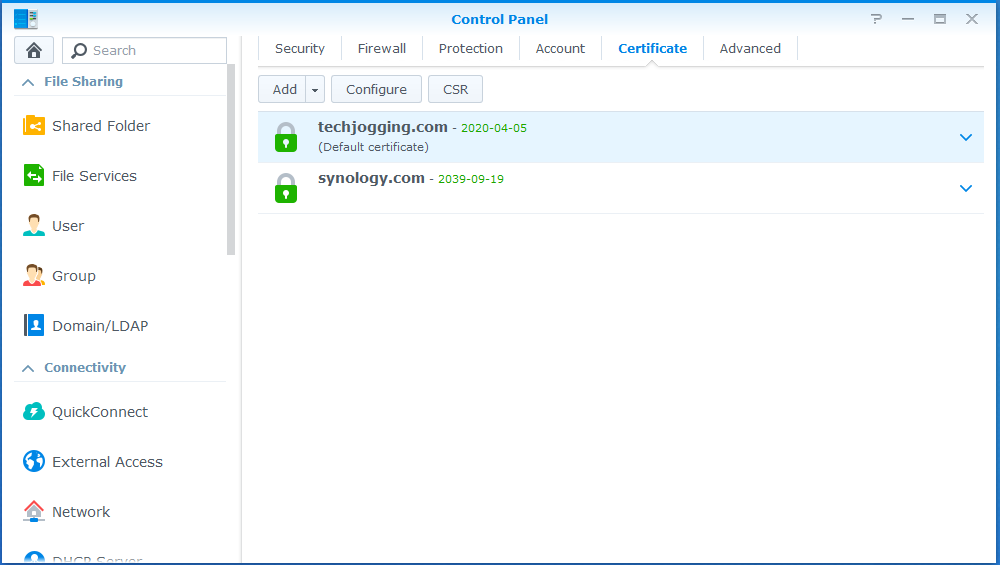
SSL certificate is added to Synology NAS.
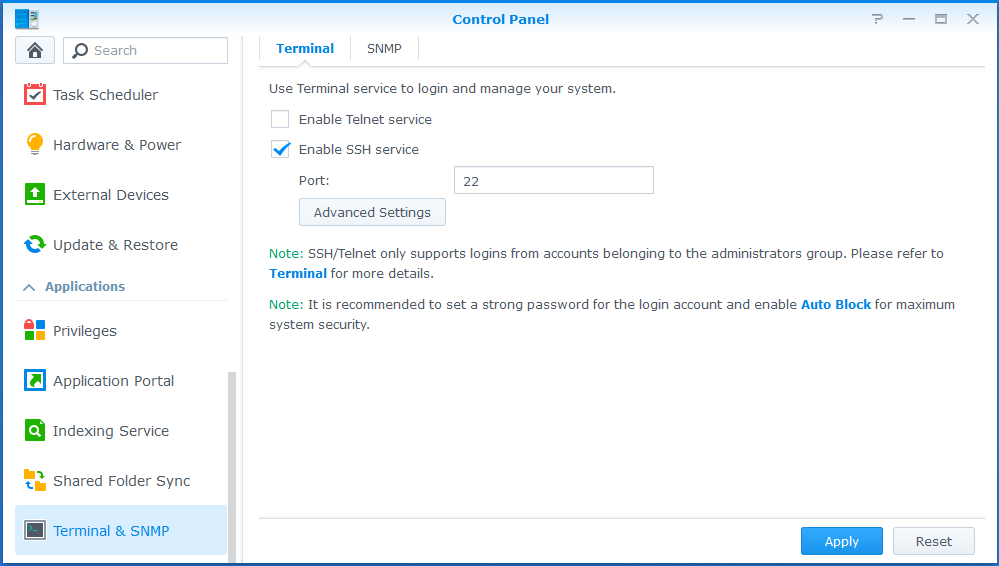
SSH service is enabled.
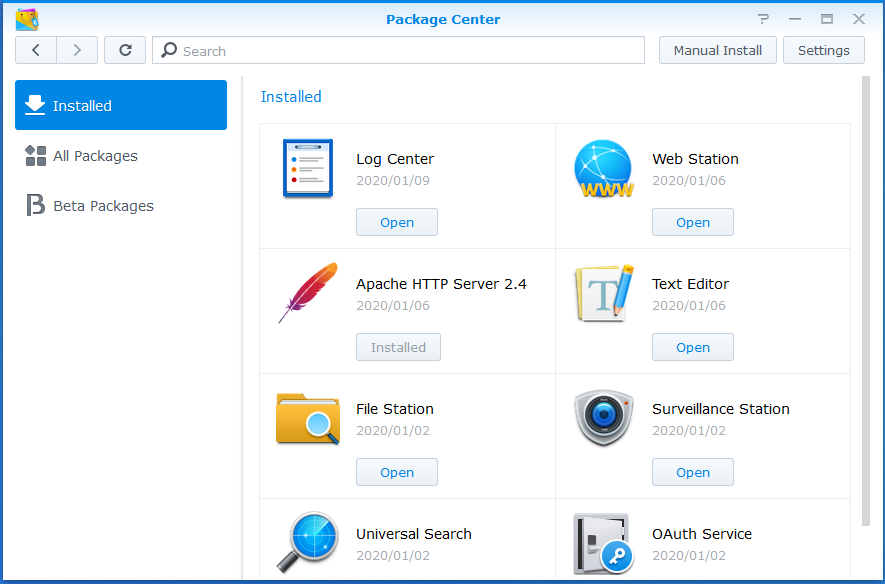
Web Station is installed.
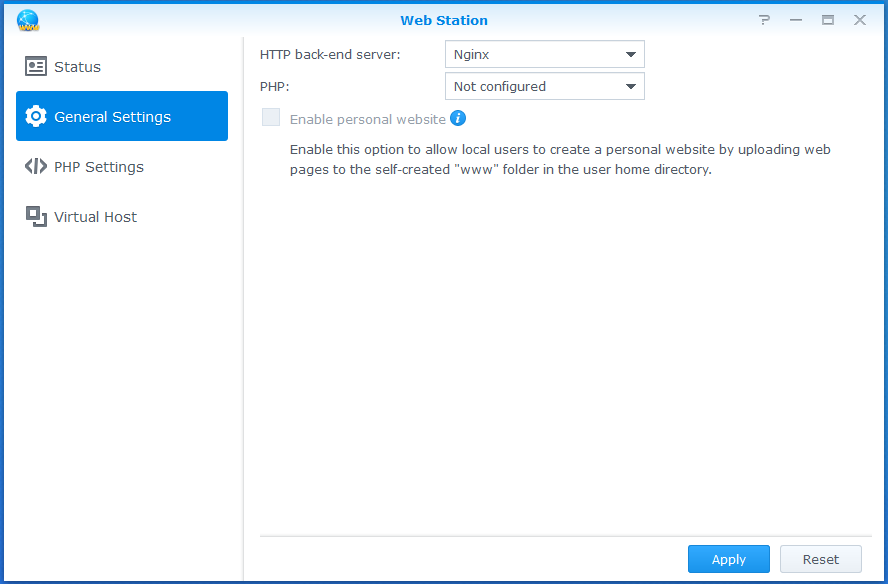
Web server is Nginx.
Environment
- Document is based on DSM 6.2.2 operation system
- Original moustache template
server {
    listen 80 default_server{{#reuseport}} reuseport{{/reuseport}};
    listen [::]:80 default_server{{#reuseport}} reuseport{{/reuseport}};

    gzip on;

    {{> /usr/syno/share/nginx/WWW_Main}}

    location ~ ^/$ {
        rewrite / http://$host:{{DSM.port}}/ redirect;
    }
}

server {
    listen 443 default_server ssl{{#reuseport}} reuseport{{/reuseport}};
    listen [::]:443 default_server ssl{{#reuseport}} reuseport{{/reuseport}};
    {{#DSM.https.compression}}
    gzip on;
    {{/DSM.https.compression}}

    {{> /usr/syno/share/nginx/WWW_Main}}

    location ~ ^/$ {
        rewrite / https://$host:{{DSM.ssl.port}}/ redirect;
    }
}
Setup
Use ssh client to access your Synology NAS with a user which has administrative permission. It can be PuTTY tool in Windows or terminal with
sshcommand in Unix.Switch to root user
sudo su -
Back up the current moustache template
Don't skip it. First of all, in case of any issues with the setup, you can always roll it back. Also, if you decide to add another domain or subdomain, you need your backup copy to do it.
cp /usr/syno/share/nginx/WWWService.mustache /usr/syno/share/nginx/WWWService.mustache.bak
Open the moustache template for editing
vi /usr/syno/share/nginx/WWWService.mustache
Replace 4 lines in port 80 section
{{> /usr/syno/share/nginx/WWW_Main}}

location ~ ^/$ {
     rewrite / http://$host:{{DSM.port}}/ redirect;
}
with those 2 lines
server_name _;
 return 301 https://$host$request_uri;
The final content should be
server {
    listen 80 default_server{{#reuseport}} reuseport{{/reuseport}};
    listen [::]:80 default_server{{#reuseport}} reuseport{{/reuseport}};

    gzip on;

    server_name _;
    return 301 https://$host$request_uri;
}

server {
    listen 443 default_server ssl{{#reuseport}} reuseport{{/reuseport}};
    listen [::]:443 default_server ssl{{#reuseport}} reuseport{{/reuseport}};
    {{#DSM.https.compression}}
    gzip on;
    {{/DSM.https.compression}}

    {{> /usr/syno/share/nginx/WWW_Main}}

    location ~ ^/$ {
        rewrite / https://$host:{{DSM.ssl.port}}/ redirect;
    }
}
Restart the Nginx web server to apply the changes
synoservicecfg --restart nginx
The last important step is to refresh your browser. When you open your web site with http, it's still showing as http and don't redirect to https. Just click Ctrl-F5.
Add another domain
Adding another domain or subdomain with SSL/TLS encryption will request to do Let's Encrypt authorization again. The easiest way is to roll back WWWService.mustache.bak file created on step #3 of the setup. After creating of a SSL certificate, the modified mustache file is returned back.
Comments
comments powered by Disqus